Selling a condo in the Pearl is all about the first impression buyers get online. Most shoppers start on their phones, and they decide in seconds whether to click or keep scrolling. If you want a fast, strong sale, your prep should center on visuals and a plan that fits this neighborhood’s pace and HOA rules. In this guide, you’ll get a clear, step-by-step roadmap tailored to Pearl District condos and lofts, plus timing tips that tap into local energy without missing the bigger buyer pool. Let’s dive in.
Know your Pearl District buyer
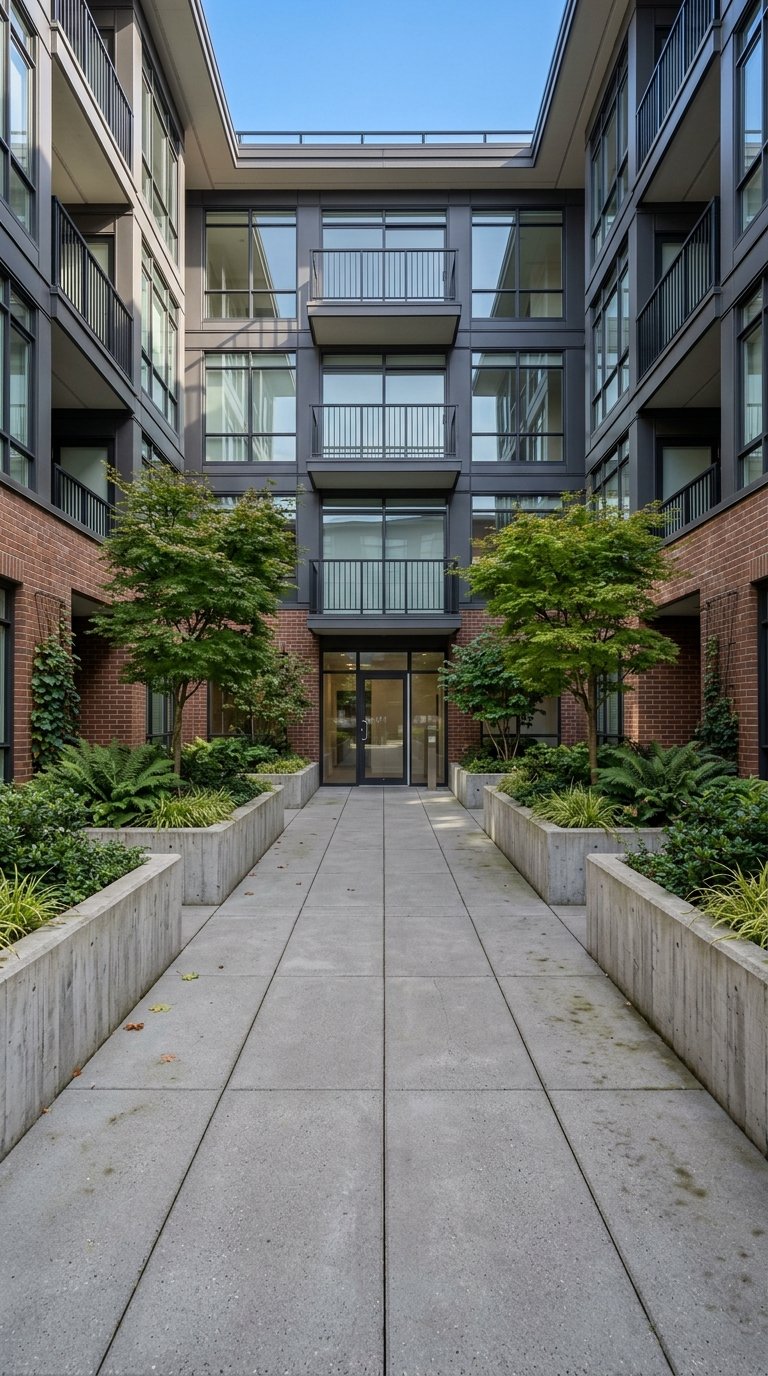
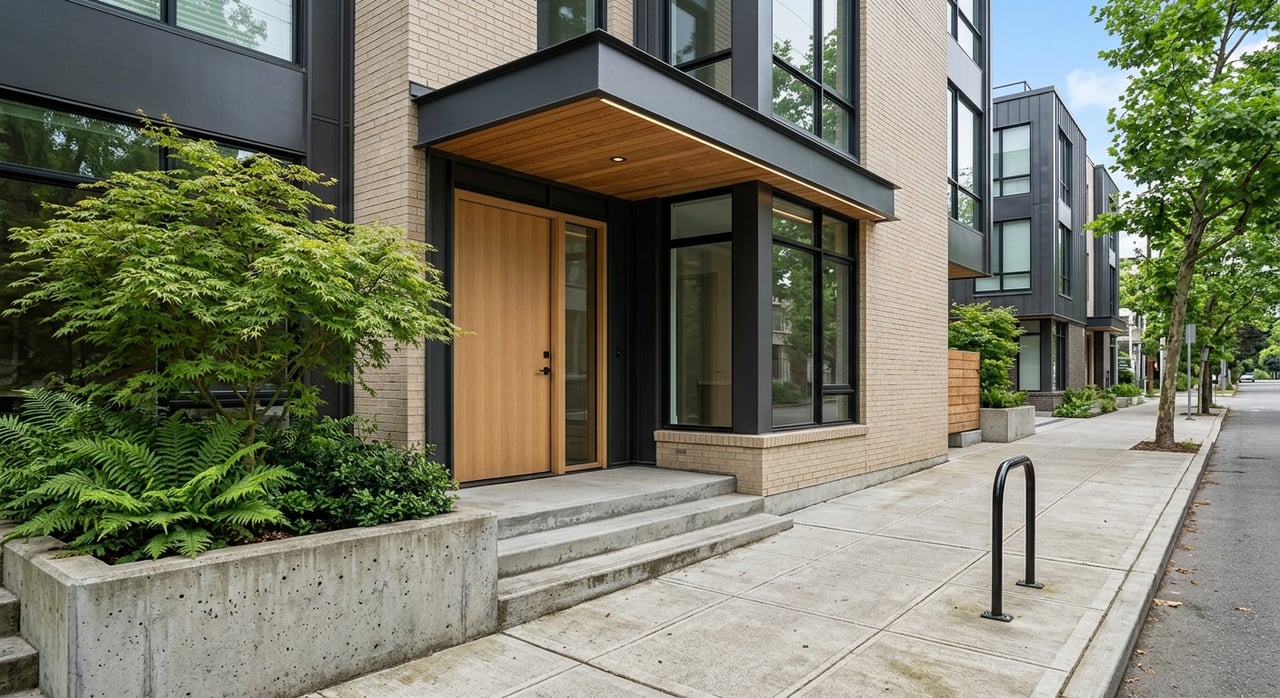
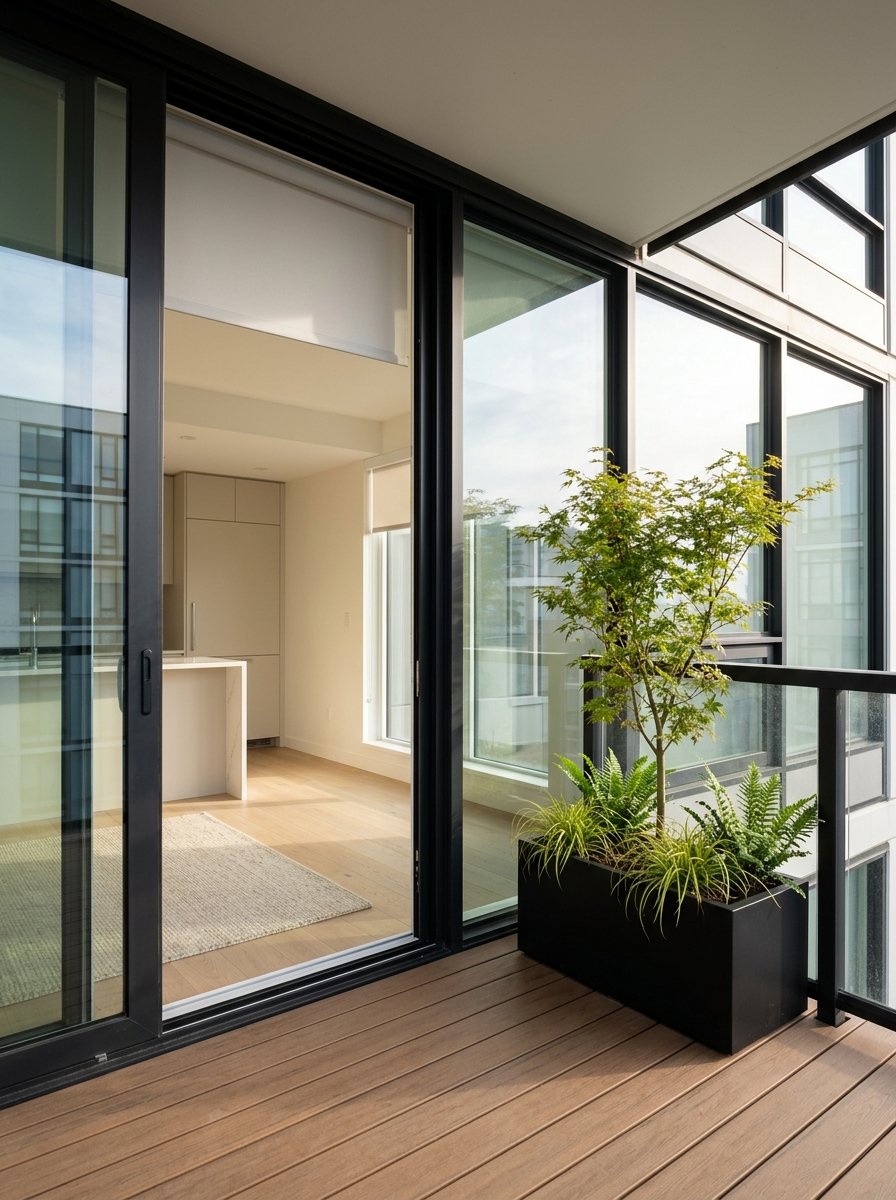
The Pearl draws buyers who want walkability, culture, and amenities over yard space. Think galleries, street-level retail, parks like Jamison Square and Tanner Springs, and easy Streetcar access. The neighborhood’s high walkability and transit options support that lifestyle, so highlight what makes daily life simple and inspiring here. You can reference overall walkability insights from Walk Score’s Portland page.
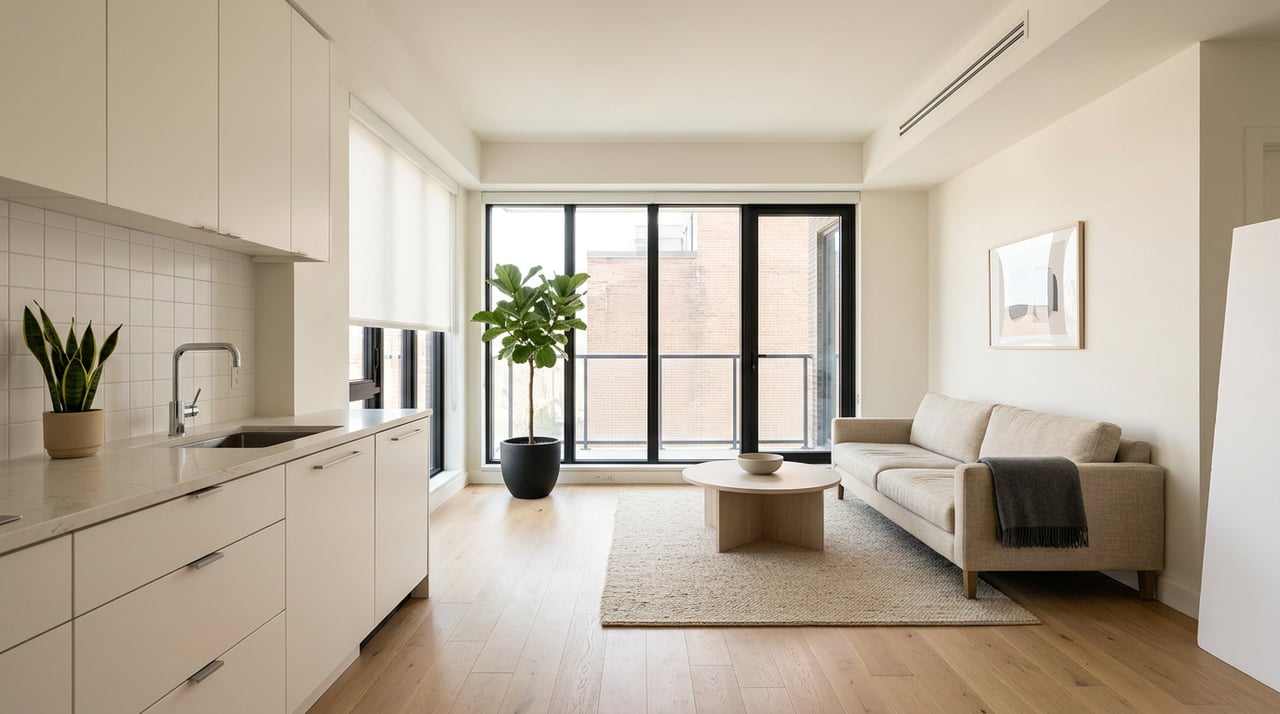
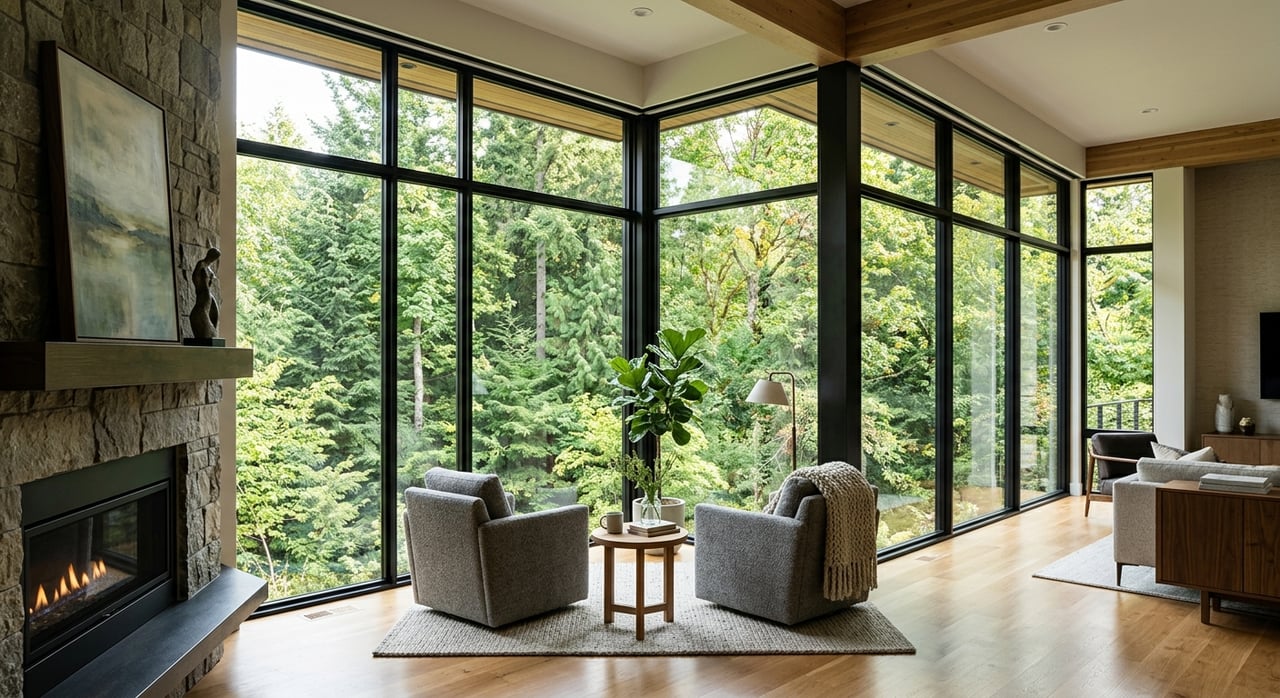
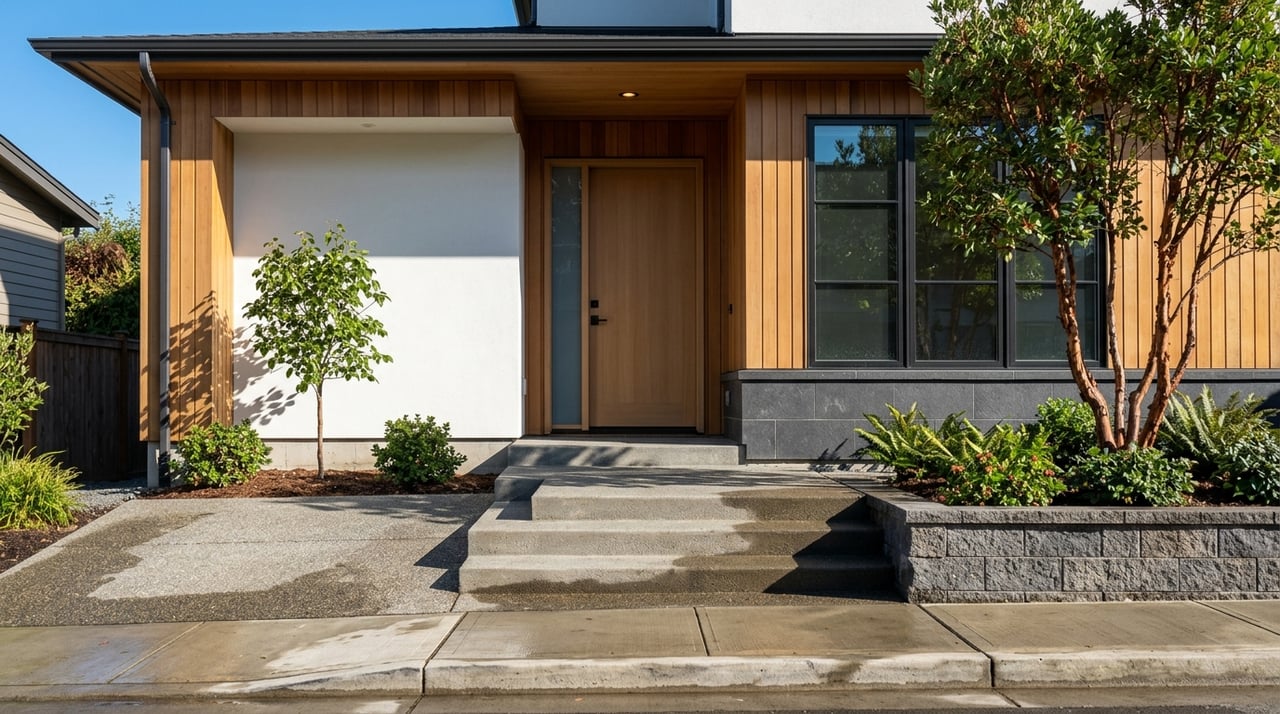
Your photos, floor plan, and 3D tour are the make-or-break tools. Buyers consistently rate listing photos and virtual tours among the most useful online features. Put those front and center in your plan, and budget time to get them right. See the National Association of REALTORS buyer trends in the 2024 Profile of Home Buyers and Sellers.
Handle HOA and documents first
Condo associations shape what you can photograph, when showings happen, and even where signs can go. Oregon statutes govern condominiums and planned communities, including what associations can and cannot require. Get familiar with the framework in Oregon’s HOA statutes, and pull your building’s declaration, bylaws, and rules early.
Create a simple document kit for your agent:
- Declaration, bylaws, rules, and the most recent resale certificate
- Current budget and reserve study summary
- Fee schedule and recent utility averages
- Parking and storage rights documentation
- Any permits or paperwork for owner improvements
Expect practical rules on signage, visitor access, showing notices, and photography of common areas. Confirm specifics with the property manager so you do not run into conflicts mid-shoot or on open house day. For a quick primer on typical HOA impacts, review this overview of Oregon HOA rules.
If your unit or building systems are older, consider a pre-listing inspection. It helps you spot small fixes that could become negotiation points later. If the building predates 1978, plan for standard lead-based paint disclosures.
Your 4 to 8 week prep plan
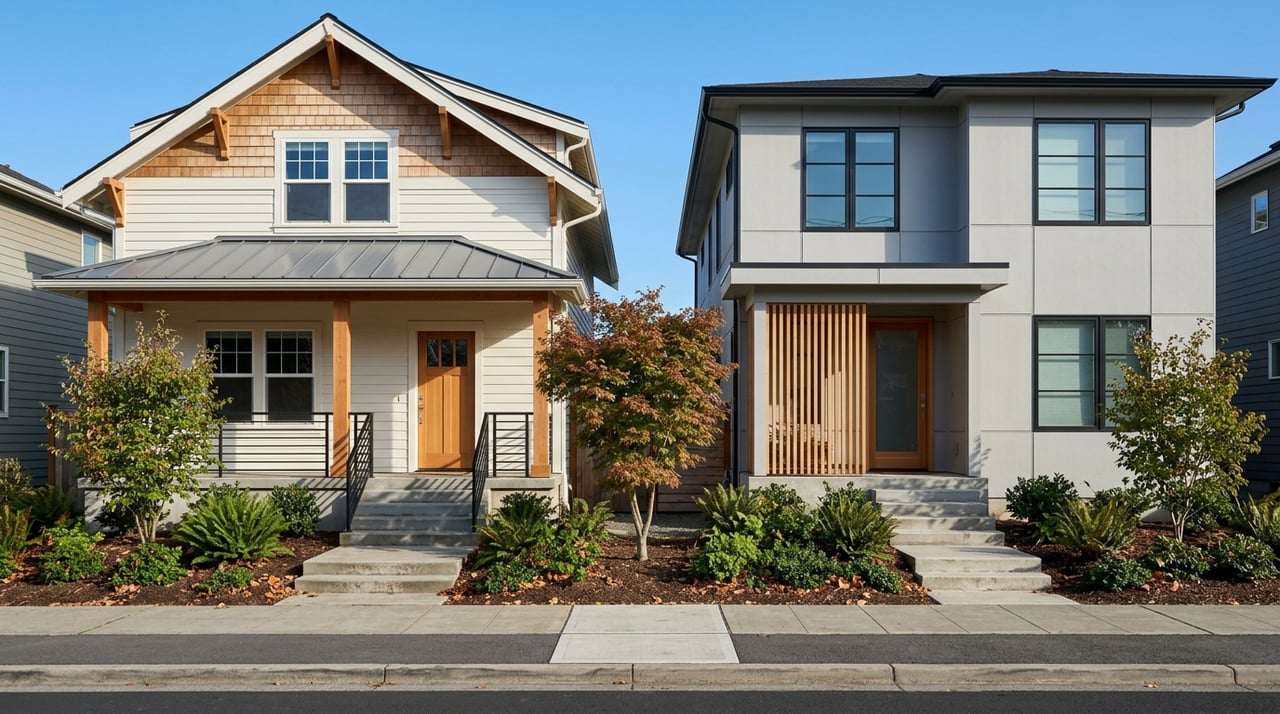
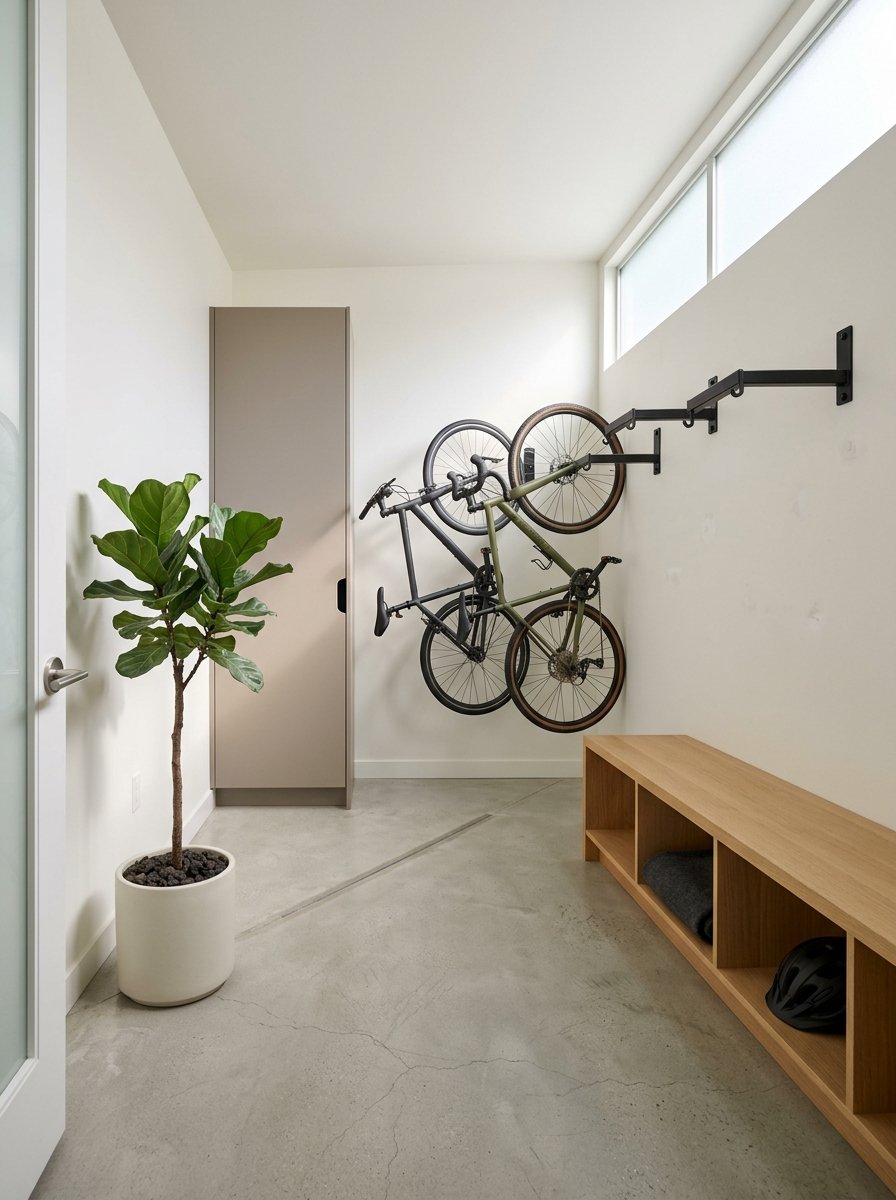
A clean, design-forward presentation paired with pro visuals is your best return. Staging helps buyers picture themselves in the space and can reduce time on market. NAR’s 2025 staging research backs the value of this step, so make it core to your plan. See highlights in the 2025 Profile of Home Staging.
6–8 weeks before listing
- Choose a listing agent who knows the Pearl and markets digitally with pro photography, 3D, and paid exposure.
- Order HOA documents and the resale certificate. Confirm photography and amenity-access rules with management.
- Book a staging consultation and schedule professional photography with a 3D tour and floor plan. Staging should happen before photos.
- Consider a pre-listing inspection if you want to address items up front.
3–4 weeks before listing
Focus on small, high-ROI updates that read well online. Regional Cost vs. Value data consistently shows minor cosmetic work beats large remodels on return. For guidance on small-to-medium projects, see this ROI overview from Remodeling’s 2025 report, summarized here: Which improvements yield the highest ROI.
- Paint main living areas and bedrooms in a light, neutral palette.
- Swap dated light fixtures. Use warm or neutral LED bulbs.
- Refresh cabinet hardware and consider a modern faucet in the kitchen or bath.
- Deep clean throughout. Re-caulk and re-grout where needed.
- Declutter surfaces and remove most personal photos. Show storage capacity.
- For lofts, define zones with rugs and low-profile furniture so buyers see living, dining, and office flows without blocking light or volume.
Pro tip: Book your stager and photographer before you consider heavy renovations. Visuals sell the condo online.
1–2 weeks before listing
- Complete a professional photo shoot that includes interiors, views, balcony, key amenities, and at least one sharp exterior or neighborhood image. Ask for a twilight or skyline shot if your view supports it.
- Prep each space for scale and flow: clear countertops and nightstands, hide cords, remove small appliances, and open blinds for maximum light. Buyers spend time on images, so polish matters. See buyer preferences in NAR’s 2024 Profile of Home Buyers and Sellers.
- Capture a 3D tour and floor plan during the same visit. Interactive tours help buyers understand open or contemporary layouts and can lift engagement on major portals. For a quick snapshot of benefits, see this Zillow 3D Home overview.
- Build a concise amenity and neighborhood slide set for social media and your listing microsite. Aim for Jamison Square, Tanner Springs, Fields Park, NW 13th Avenue, and nearby Streetcar stops. Confirm HOA approval for amenity photography.
Launch week and first two weeks
- Go live with 20–30 curated photos, a 2D floor plan, a 3D tour link, and a short video walk-through. Lead with your best wide shot as the cover image.
- Run a broker preview, then targeted social ads that reach local move-up buyers, downsizers, and relocation audiences.
- Host weekend open houses. If a First Thursday is within a week or two, schedule a broker preview near that date to ride the neighborhood’s energy. You can confirm upcoming dates with Travel Portland’s First Thursday calendar.
Need to move fast? 2–3 week sprint
If you must list quickly, prioritize the essentials that move the needle online.
- Declutter, deep clean, and paint high-impact walls.
- Book a stager for a focused consult or use virtual staging for vacant rooms.
- Capture pro photos, a 3D tour, and a simple floor plan in one appointment. The combined package increases engagement and reduces low-quality showings.
- Launch with a strong cover image and a tight feature list that surfaces parking, storage, HOA fee range, and notable amenities.
Make lifestyle part of your story
Pearl District buyers care about how life feels day to day. Weave in the ability to walk to galleries, restaurants, Jamison Square, Tanner Springs, and NW 13th Avenue. Highlight Streetcar access and nearby parks in your copy and your photo set. Secure permission from management before photographing common areas, rooftops, or club spaces so your amenity images make it to the listing without delays.
Time your launch for attention
Portland typically sees more buyer activity in spring and early summer, which can increase your pool of showings. If your schedule allows, target a March to May list date after your prep is complete. You can also use the Pearl’s First Thursday art walk as a moment to capture twilight neighborhood photos and to schedule a broker preview near the event. Enjoy the buzz, but keep a full digital marketing plan in place so you reach the widest audience.
Visual and copy checklist
Use this quick list to keep your marketing tight and buyer-friendly.
Photography and visual assets
- A bright cover image that showcases the strongest feature, often light or view
- 18–28 interior photos hitting living, kitchen, bedrooms, baths, entry, balcony, storage, and key amenities
- A 2D floor plan plus an interactive 3D tour
- Neighborhood images that tell the Pearl lifestyle story, such as NW 13th Avenue and nearby parks
Listing copy and details
- Lead with the top three values: light and view, a defined layout, and building amenities
- Include fast facts in bullets: approximate HOA fee, parking and storage, laundry, pet and rental policies, and square footage
- Keep language neutral and factual when describing buildings, rules, and neighborhood features
After you go live: track and adjust
Watch your analytics in the first 7 to 10 days. If views or saves are soft, swap the cover image, refresh your first three photos, and add a short video walk-through to your gallery. If showings are not converting, add accent staging or lighting and update your lead photo again before considering a price adjustment. A focused CMA and small, strategic changes will usually generate better traffic without a complete relaunch.
Ready to build a standout listing that fits the Pearl? Let’s connect and map your prep, visuals, and timing. Erika Wrenn brings two decades of Pearl District expertise and boutique, web-first marketing to maximize your sale.
FAQs
What should I do first when preparing a Pearl District condo to sell?
- Start by pulling HOA documents and confirming any photography or showing rules with the property manager, then book a stager and professional photographer with a 3D tour.
Which updates deliver the best ROI before listing a condo?
- Focus on paint, lighting, hardware, deep cleaning, and fresh grout or caulk since small cosmetic updates routinely deliver stronger returns than major remodels.
Do I need permission to photograph building amenities in the Pearl?
- Many buildings require approval or staff coordination for common-area photos, so check management rules early to avoid reshoots or edits.
How important are 3D tours and floor plans for my condo listing?
- Buyers value virtual tours and floor plans because they clarify layout and scale, which helps increase engagement and reduce low-quality showings.
Can First Thursday help my listing get more attention?
- Yes, use it to capture lifestyle or twilight neighborhood images and consider a broker preview near the event, but still run a full digital marketing plan.
When is the best season to list a Pearl District condo?
- Spring and early summer typically bring a larger buyer pool in Portland, so target March to May if your prep timeline allows for a polished launch.